Tuesday, January 19, 2016

LOVE TAGS

Hello visitors!
The new year is blasting by us
at warp speed, don't you think?
It's time to decorate for 
Valentines Day!


This ivory painted display is a vintage dresser
mirror frame! The chicken wire I added
makes a great clip board. A few decorative 
boards made it a free standing unit.

In order to "JAZZ" it up,
I added hand made paper tags.


This set features:
 old book page Sizzix die cut letters
Bobunny paper
 lace & ribbon
die cut scallop circles

I also decided to peck away at 
using up some old jars.
My stockpile is unbelievable!
(I have more painted jars
 to share in future posts)


These plain jars, with no embossed words, 
are ideal for making heart "windows".
Then if you add candy to them,
they look super cute.  The old glass mayo jars
are plentiful & plain like this.

I used actual JAR PAINT from the 
craft store.  It really does stick the best!
Be warned, if you have a heart sticker
on, peel it off right away while the 
paint is wet.  Then, for your second coat,
add a fresh heart sticker when it 
has completely dried.


I made some decorative tags
using the Minnesota made
UNITY brand stamps!


Linking up to:


and


Monday, January 4, 2016

Painted Drop Side Table

Check out this old dark table...

Before:


I spent a few hours sanding the 
extra glossy finish off this functional piece.

My inspiration for this table came
from the Special Issue 2015
Country Sampler's Christmas.
There is a cherry red drop side table
with ivory legs in that magazine.

After consulting my sister 
and mother about the magazine 
table idea, I took the plunge on this 
unique bold paint job.

I started this project by painting the legs.
While it was upside down I did the 
bottoms of each drop side, 
since they will show when down
from certain perspectives.


Then I had to completely cover the legs
so no dark paint would splatter down 
on my crisp ivory paint.


I was also careful to protect all my cupboards
from that strong pigment red paint.

After:


I love this type of table.
It would come in so handy for holiday
meals, card games and tea time!

The striped pattern is similar
to the old grain sacks.
It's a fun blend of modern & vintage.
Don't you think?


I prefer to use flat Valspar paint.
This color is called Rushing Red.
I had to go back with a swath
of painted cardboard & match
it to the proper sample.
Mystery solved.

Linking up to:
Photobucket

Tuesday, December 22, 2015

Free Windows

This was the year of free old windows.
Word has spread that I make various 
things from the chippy old panes.
My shed rafters are busting with
the stockpile!  It's been a while since
I made some wall art windows.
Here is my latest creation:


I love this quote & think it 
speaks to a lot of other people!

My handy dandy book called 
THE INSPIRATION STATION
is loaded with phrases, quotes & titles
for scrapbookers & cardmakers.
I use it to dream up new projects 
all the time.

I used my Cricut machine to cut
the adhesive vinyl letters & 
"eyeballed" them on!

Linking up to:


Holiday DIY party


Friday, December 18, 2015

More Arrow Signs!

I'm loving all the more
natural trends right now.
They call it "woodland" style.

As an avid outdoors lover,
decorating with arrows & antlers 
comes very easily!


The "happy" signs have gone well 
at my craft booth.

Here are a few of the holiday 
signs I made...


Linking up to:


AND


Rooted In Thyme


Tuesday, December 1, 2015

Fancy Desk

Hi folks.
I'm excited to share a cool desk transformation
with you.  I forgot to get a "before" picture.
But as you can imagine, it was your typical 
dark brown wooden desk. 

Here is the updated piece...


This was a ready to paint, sturdy desk.
It had minimal varnish & since I planned on
distressing the edges, I did no sanding at all!
I chose not to prime either.
In my opinion,
skipping these steps should 
only happen if you: 
Use Annie Sloan Paint
or
Plan on a very distressed look
Clean well with TSP
Apply a super thin base layer
Give the first layer ample dry time


It had great hardware,
which can make or break 
your furniture sale.
These were intricate, 
fine & had a great patina!


The top got a fancy stencil design.
I made it using my Cricut machine & 
adhesive vinyl.


It's a messy, tedious process.  But in the 
end it is very much worth the time.
I've gotten pretty fast at it!
Sometimes choosing the design can be tricky.


For creative stencils,
the biggest trick is to
make sure your base layers of paint
are good & dry.  Otherwise, when you pull 
your tape & stencils off the paint will 
peel right off with it.
I don't apply much pressure to the
tape either.  


Now the honest breakdown...

paint brand: Valspar

desk cost: $5

selling price: $80

After cleaning,
 3 coats of paint,
stencil time,
& distress sanding:
about 3-4 hours of work

Now, I am already moving 
on to my next project!

Linking up to:
and


Wednesday, November 18, 2015

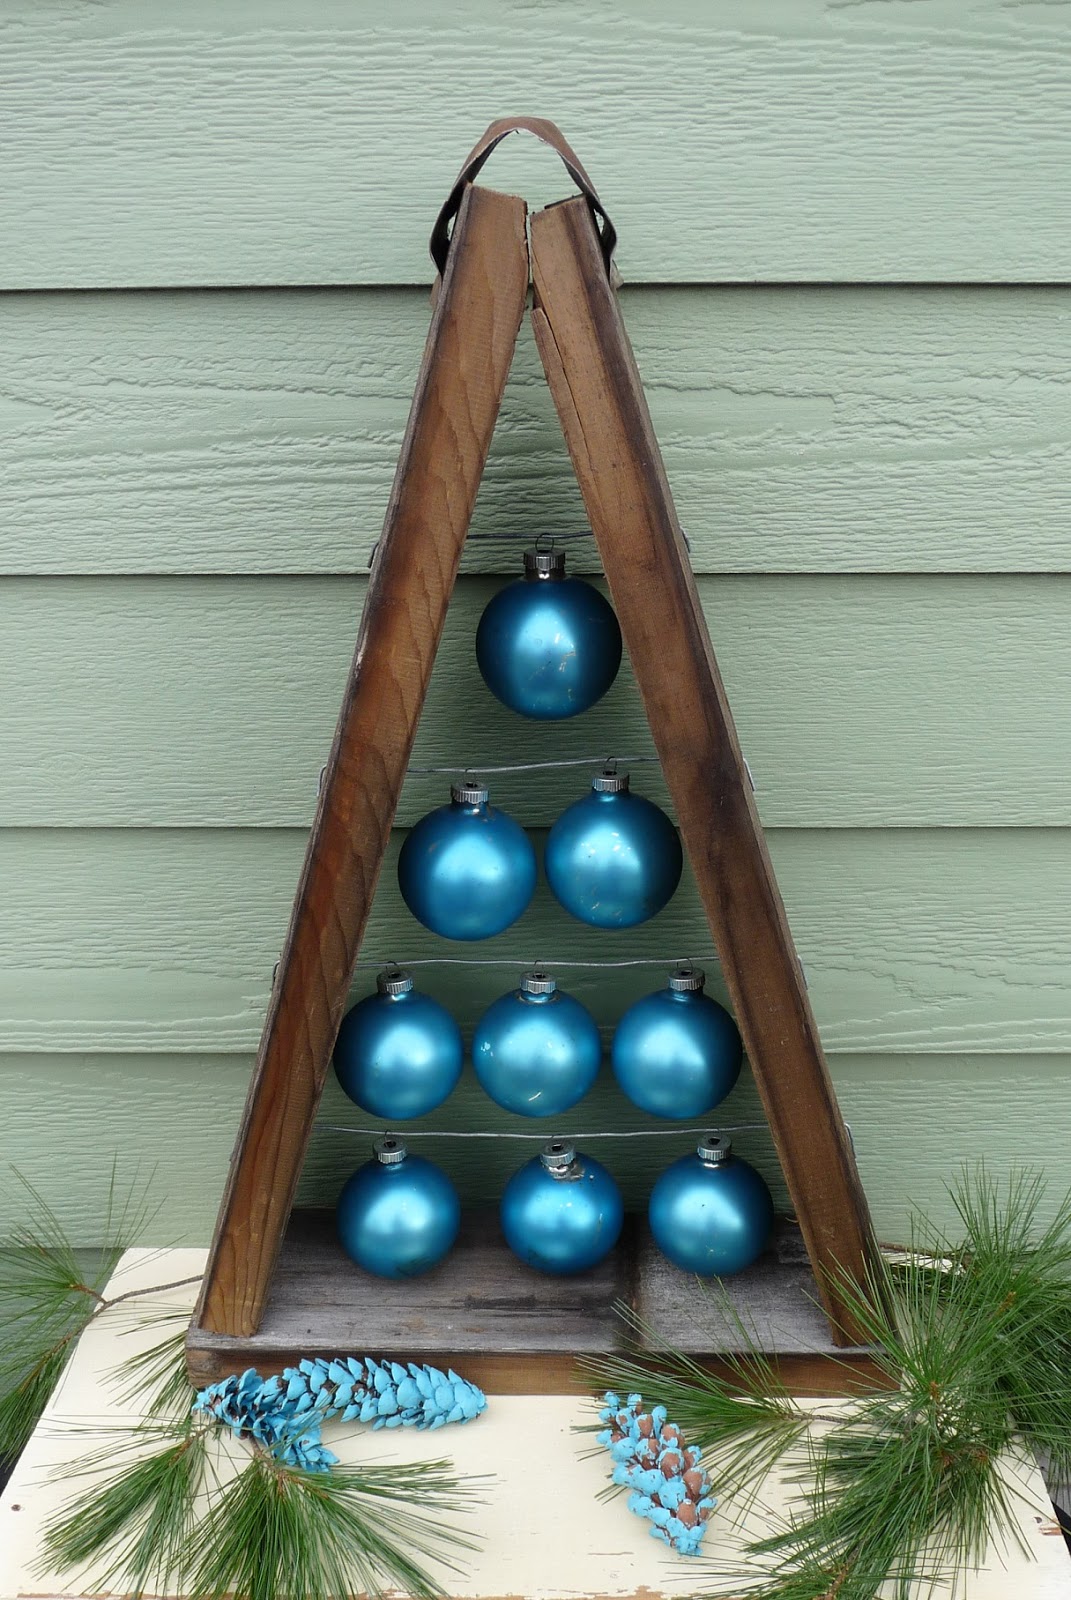
DIY Ornament Tree

Check out this creative use for old Christmas
 ornaments on Pinterest.   Crate & Barrel Knock-off

I tried my own version of this craft.
Some items used are reclaimed cedar wood,
Shiny Brite ornaments, embossed tin
 & salvaged wire.


How great would this be for an apartment
that lacked room for a full sized tree?


The tones of these glass balls are 
gold, silver & green.  It's a neutral look.


Here is an example of using whatever"junk" you have!
This spool was rescued from the woods,
as was the old embossed tin building edging.


So, which TREE do you like better???


Thanks for stopping by!

You can find more inspiring projects
at these blog parties...

Linking up to:


and


Friday, November 6, 2015

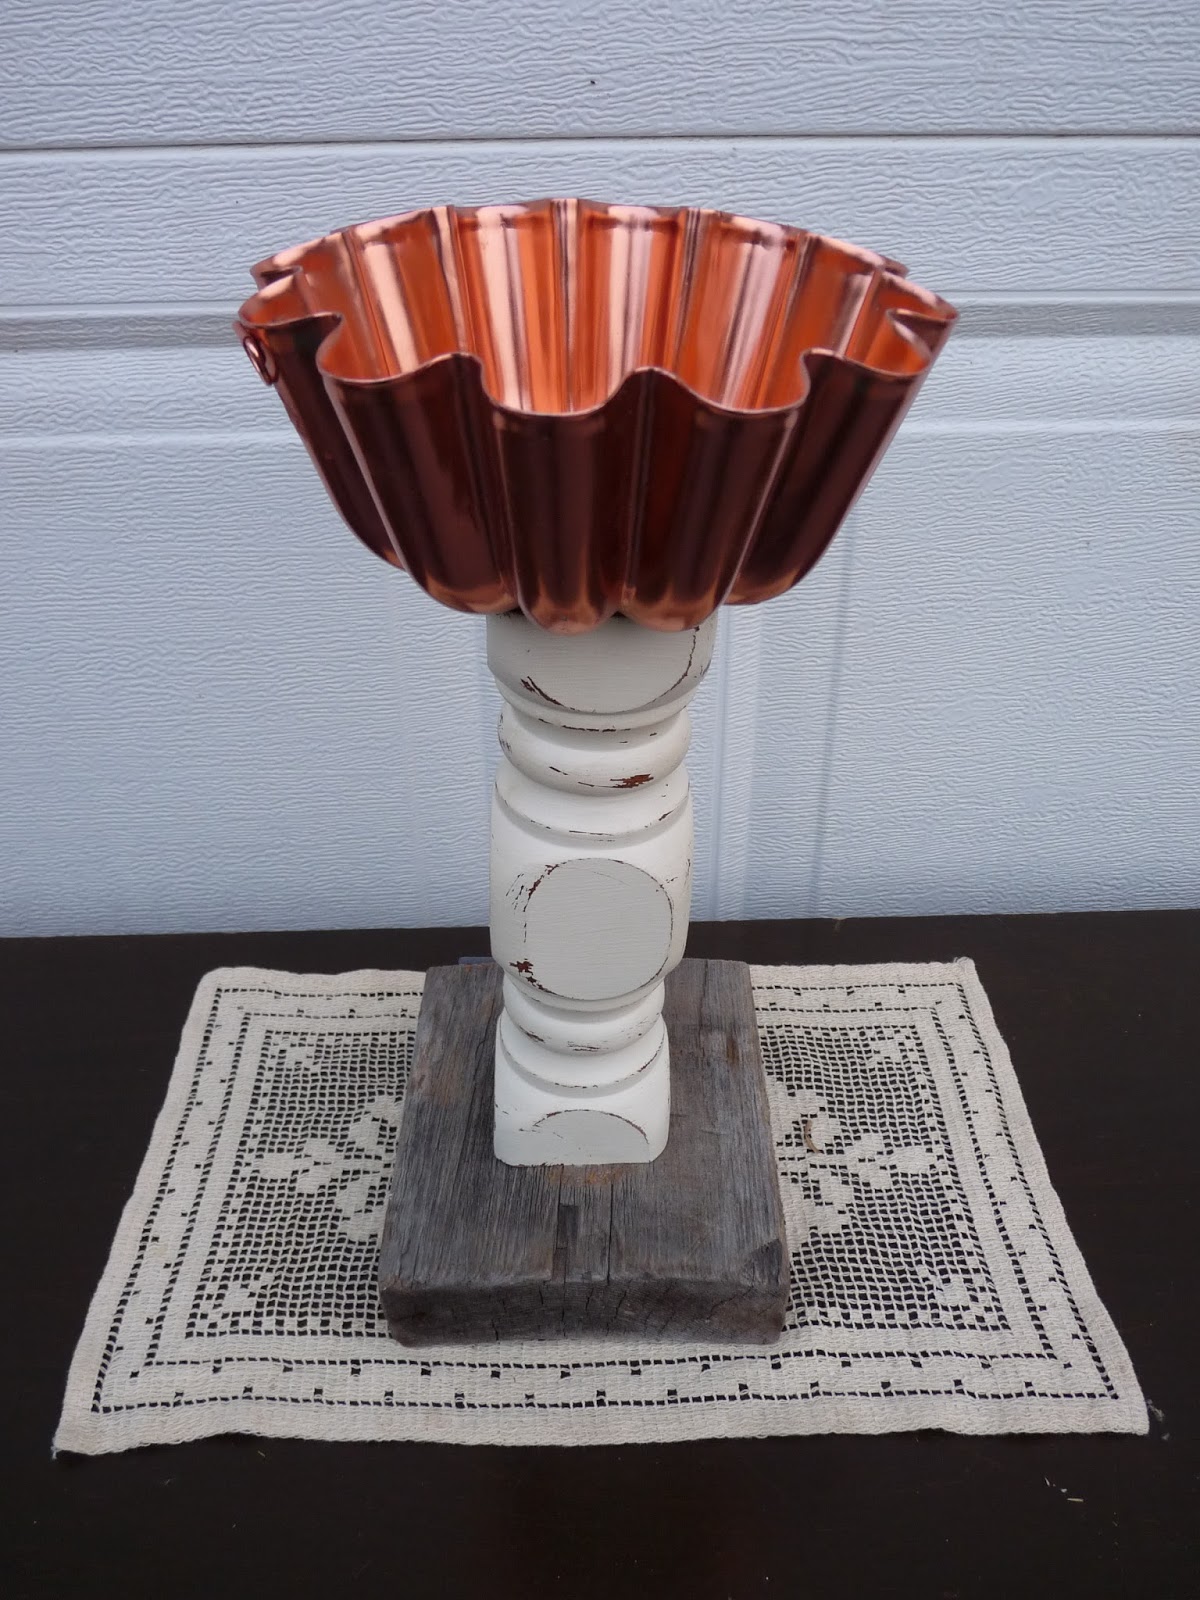
Pedestals

I had a large stockpile of wood spindles. 
Many were from a friend that was moving.


 So, one day I painted all
kinds of them.  When lightly sanded
and paired up with weathered wood,
they look pretty cute.


The copper one sold first.
This would make a great candy dish.
Copper works great for fall.

I love the plain wooden ones.
They look festive with a
pumpkin on top.


Linking up to:


&